文章目录
This tutorial explains how to create a fresh SD card for your Raspberry using a Windows PC. It’s the technique I use to update my cards whenever a new version of Raspbian is released.
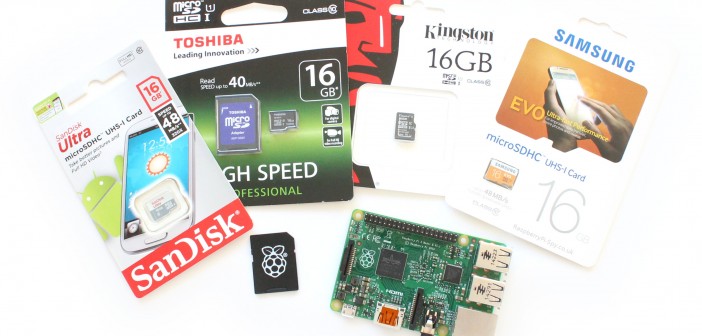
Starting with a clean installation is important if you’ve got any issues or are starting a new hardware project. I recommend using SD cards with a capacity of 8GB and higher.
 Step 1 – Download an Image
There are a number of pre-created SD card images you use in your Pi. Which one you choose depends on your project but my favourites include :
Raspbian
Raspbian is the official supported system. You can choose the version with the Pixel desktop environment or the Lite version. Download from : https://www.raspberrypi.org/downloads/raspbian/
OSMC
OSMC (Open Source Media Center) is a free and open source media player based on Linux.It is based on Kodi and lets you play back media from your local network, attached storage and the Internet. Download from : https://osmc.tv/download/
RetroPie
RetroPie allows you to turn your Raspberry Pi into a retro-gaming machine. It builds upon Raspbian, EmulationStation, RetroArch and many other projects to enable you to play your favourite Arcade and home-console with the minimum set-up. Download from : https://retropie.org.uk/download/
Once downloaded you may need to extract the IMG file from zip or gz archives.
Step 2 – Write the Image
To write the image I use Etcher. This is my preferred software as it is available for Windows, MacOS and Linux. Using it is described in my Write SD Card Images Using Etcher On Windows, Linux & Mac article.
Once written and verified Etcher will unmount the card so it can be removed from the PC immediately.
Step 3 – Enable SSH (optional)
By default SSH is disabled on the Raspbian image. If you intend to use SSH you can enable it by re-inserting the SD card in your PC and creating a blank text file named “ssh”. Note there is no file extension. It needs to just be named “ssh”. When the Pi boots it will notice this file, enable SSH and then delete the file.
Step 4 – Initial Configuration
Insert the card into your Pi and power it up.
Different images will have different procedures for initial setup and what you do next will depend on your project. RetroPie and OSMC will present you with a graphical interface from which you can configure the systems.